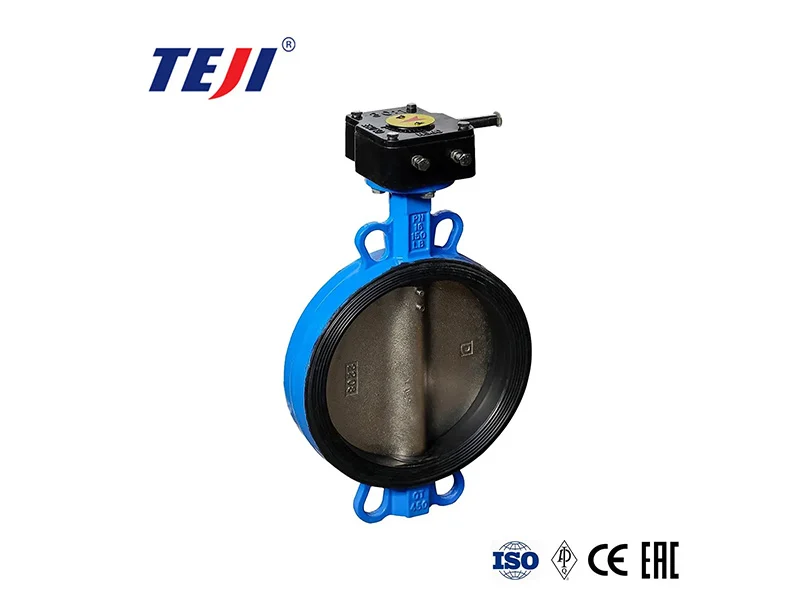
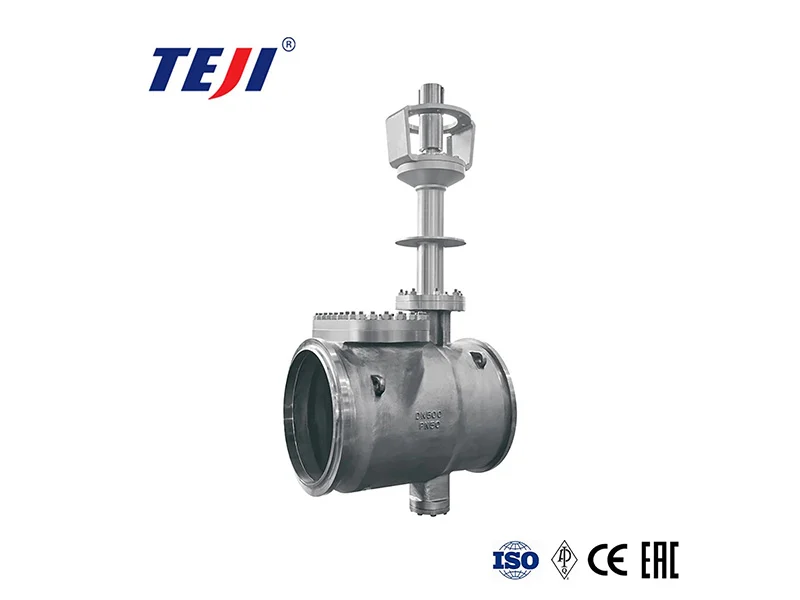
Cryogenic valves are used in cryogenic fluid systems operating at temperatures ranging from -40°C to -253°C and are crucial in the industrial sector. The cryogenic liquids they transport, such as ethylene and liquid oxygen, are flammable and explosive, expanding hundreds of times in volume when heated and vaporized. Cryogenic valves precisely control the flow and flow of these media, preventing leaks, abnormal pressure increases, and serious accidents like explosions. In equipment such as liquefied natural gas (LNG) and petrochemical exhaust gas separation, they ensure stable system operation. Furthermore, their unique structural design and use of cryogenically resistant materials allow them to adapt to low-temperature environments, extending equipment life and reducing maintenance costs.
Due to the unique characteristics of the media they transport, cryogenic valve leaks are extremely dangerous. Therefore, timely inspection and detection of cryogenic valve problems are crucial to preventing them. If you’re unsure about where to begin inspecting cryogenic valves, read on.
How to Check Low-Temperature Valves
Sealing Performance Inspection
Normal Temperature Sealing Test: Perform a normal temperature low-pressure upper sealing test and a normal temperature low-pressure sealing test to ensure the valve’s sealing performance is satisfactory at room temperature.
Low Temperature Sealing Test: Perform a low temperature upper sealing airtightness test (if upper sealing is installed) and a low temperature airtightness test to verify the valve’s sealing effectiveness in low-temperature environments and prevent media leakage.
Operational Performance Inspection
Flexibility Test: Operate the valve under low-temperature conditions to check its opening and closing flexibility and response speed, ensuring there is no sticking or jamming, and that the valve stem can rotate normally.
Operating Force Test: Checks whether the force required to operate the valve is within the specified range. Excessive operating force may indicate internal component damage or improper assembly.
Pressure Resistance Inspection
Normal Temperature Housing Strength Test: Verifies the valve housing’s ability to withstand pressure at room temperature to ensure the valve will not rupture under normal operating pressure.
Low Temperature Pressure Test: Evaluates the valve’s ability to withstand pressure in low-temperature environments to ensure safe operation under low-temperature, high-pressure conditions.
Anti-static performance inspection
Check the conduction resistance between the valve body and stem, or between the trim and the valve body, to ensure it is less than 1 ohm. This ensures the valve has good anti-static performance.
Tips for Preventing Low-Temperature Valve Damage
In daily life, we can take the following steps to prevent low-temperature valve damage and extend its lifespan.
Installation and Storage
Indoor Storage Preferred: Store valves indoors whenever possible. If outdoor storage is necessary, protect the valves from weather, sunlight, ozone, impurities, and moisture.
Freeze Prevention: In cold weather, ensure that no water accumulates inside the valve to prevent cracks caused by freezing.
Insulation Measures: Add insulation to the exterior of the valve to mitigate the effects of low temperatures.
Pre-Cooling Treatment: Apply a 2-4 hour cryogenic treatment to austenitic stainless steel parts to reduce the risk of sealing surface deformation caused by metallographic transformations.
Operation and Maintenance
Prevent Impurities: Keep the media clean to prevent impurities from damaging the valve interior.
Prevent Stress: During operation, avoid excessive stress on the valve to prevent damage caused by stress concentration.
Repair Methods for Low-Temperature Valves
Stem Stuffing Box Leakage
This is the most common leak source. The packing (usually made of polytetrafluoroethylene (PTFE) or reinforced graphite, etc.) wears, ages, or shrinks after prolonged use, resulting in a poor seal.
Repair Method
Online Tightening (for Minor Leaks): If the system cannot be shut down for an extended period and the leakage is minimal, try using a suitable wrench to lightly and symmetrically tighten the bolts on the packing gland.
Note: Avoid overtightening, as this can crush the packing or cause difficulty turning the valve stem, further increasing wear. This is only a temporary fix.
Replacing the Packing (Standard Repair Method)
Disassembly: After completely isolating the valve, relieving pressure, and rewarming it, remove the packing gland, spring preload device (if installed), and old packing.
Cleaning: Thoroughly clean the stuffing box and valve stem, and inspect the stem surface for scratches or corrosion. If there is severe damage, repair or replace the valve stem.
Installing New Packing: Use specialized low-temperature valve packing, typically flexible graphite or a special polymer, which offers excellent low-temperature elasticity and sealing properties. Install the new packing rings strictly according to the valve manufacturer’s instructions, ensuring the cuts are staggered (usually 120° or 180°). Tighten the packing gland bolts evenly to the recommended torque.
Testing: After repair, a pressure test and leak check must be performed.
Valve Seat and Disc (Seal Assembly) Leakage
This is an internal leakage problem within the valve, manifesting as media still flowing from upstream to downstream even after the valve is closed. Causes include worn or scratched sealing surfaces, trapped foreign matter, or low-temperature deformation.
Repair Methods
Flushing and Purging (For trapped foreign matter): For ball valves or plug valves, try opening and closing the valve repeatedly while using system pressure or purge gas to flush out any small foreign matter stuck on the sealing surfaces.
Grinding Repair (For Minor Damage): For globe valves, gate valves, and other valves, if the sealing surfaces are slightly scratched or uneven, disassemble the valve and disc and manually or mechanically grind them using specialized grinding paste and tools to restore their smoothness and flatness. This requires high technical skills and requires experienced technicians.
Replacing the Seat/Disc Seal (Most Common Method): Most cryogenic ball and butterfly valves use soft seals (such as PCTFE, PEEK, or reinforced PTFE) or metal seals. Soft seals are susceptible to wear and require regular replacement. Disassemble the valve cavity, remove the old seat ring and ball/disc seals, and replace them with original or equivalent parts. During installation, ensure they are clean and free of any impurities.
Replace the entire valve or valve core: If the sealing surface is severely damaged (such as deep pits or cracks) or the valve body is deformed, grinding and replacing the seals may not resolve the problem. In this case, the most reliable solution is to replace the entire valve or valve core assembly.
Leakage from the center flange
The cause is usually gasket failure or loosening of the connecting bolts due to low temperatures.
Repair Method
Tightening Bolts (for minor leaks): After relieving pressure, tighten the center flange bolts evenly in a crisscross pattern. Use a calibrated torque wrench to achieve the specified torque.
Replacing the Gasket: If tightening is ineffective, remove the bonnet and replace with a dedicated low-temperature spiral wound gasket or flexible graphite gasket. Clean the flange sealing surface and inspect for damage. Then install a new gasket and re-tighten the bolts evenly.
Leaking valve body
Immediately remove the valve from service, isolate the valve, and arrange for complete valve replacement. Any weld repairs could create stress concentrations at low temperatures, leading to catastrophic failure.
Note: After the repair is completed, the valve must not be placed directly into low-temperature operation and must undergo rigorous testing.
TEJI has been focusing on the valve industry for 45 years. If you need to purchase valves, please contact us.


